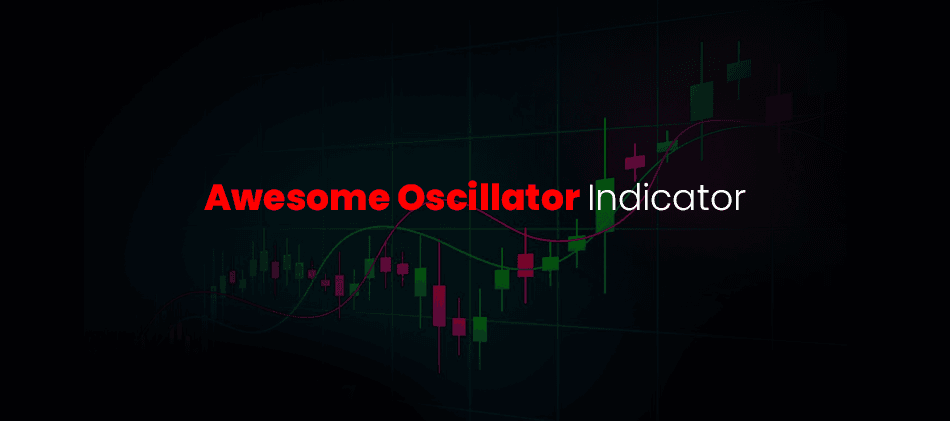
Learn how to use the Awesome Oscillator Indicator to spot momentum shifts, identify trends, and improve your trading strategy.

What is the Awesome Oscillator (AO) Indicator?
The Awesome Oscillator (AO) is a popular momentum indicator used by traders to measure the strength of market trends and identify potential trend reversals. By analyzing momentum, the AO can reveal whether bulls or bears dominate the market, offering valuable insights into trading decisions. In this comprehensive guide, we will explore the fundamentals of the AO, how it works, how to use it effectively, and advanced strategies to maximize its potential.
![OnePlus [CPS] Many Geos](data:image/svg+xml;base64,PHN2ZyB4bWxucz0iaHR0cDovL3d3dy53My5vcmcvMjAwMC9zdmciIHdpZHRoPSI3MjgiIGhlaWdodD0iOTAiIHZpZXdCb3g9IjAgMCA3MjggOTAiPjxyZWN0IHdpZHRoPSIxMDAlIiBoZWlnaHQ9IjEwMCUiIHN0eWxlPSJmaWxsOiNjZmQ0ZGI7ZmlsbC1vcGFjaXR5OiAwLjE7Ii8+PC9zdmc+)

Understanding the Basics of the Awesome Oscillator
The Awesome Oscillator is a histogram that represents momentum changes in the market. The histogram consists of bars that reflect the difference between two moving averages—one short-term (5-period) and one long-term (34-period). The key components of the AO include:
- Green Bars: Indicate increasing momentum and suggest a bullish market.
- Red Bars: Indicate decreasing momentum and suggest a bearish market.
- Zero Line: The dividing line between bullish and bearish territories, where the short-term and long-term momentum meet.
Why Traders Should Focus on Momentum
Momentum is crucial for determining the strength and direction of a market trend. A trend losing momentum is often a precursor to a reversal, while increasing momentum typically suggests that the trend will continue. The AO helps traders identify these shifts, making it an excellent tool for spotting potential market changes before they occur.
For a deeper understanding of momentum and its significance in trading, visit Investopedia’s Momentum Indicators.

How Does the Awesome Oscillator Work? Formula and Explanation
The Formula Behind the Awesome Oscillator
The AO is calculated by taking the difference between two simple moving averages (SMAs):

Breaking Down the Components:
- Median Price: The median price is calculated as the average of an asset’s high and low prices during a given period.
- 5-Period SMA: This is a short-term moving average, reflecting the most recent momentum over 5 periods.
- 34-Period SMA: This is a long-term moving average, smoothing out longer-term price movements over 34 periods.
The difference between the two SMAs highlights shifts in momentum, allowing traders to identify whether short-term or long-term trends are dominant.
Importance of the Zero Line
The Zero Line is crucial for interpreting the AO’s readings. When the AO crosses the zero line, it indicates a shift in market momentum. Here’s how to interpret this crossover:
- Above Zero: Bullish momentum is dominating the market.
- Below Zero: Bearish momentum is dominating the market

How to Use the Awesome Oscillator for Trading
The Awesome Oscillator provides traders with several key trading signals that can help identify potential market moves. Let’s break down these signals and how you can use them to your advantage.
Key Trading Signals from the AO
1. Zero Line Crossover
- Bullish Signal: When the AO crosses above the zero line, it signals that short-term momentum is greater than long-term momentum, suggesting bullish conditions.
- Bearish Signal: When the AO crosses below the zero line, it indicates that long-term momentum is stronger than short-term momentum, suggesting bearish conditions.
2. Saucer Setup
The Saucer Setup consists of three consecutive bars on the AO histogram:
- Bullish Saucer: This occurs when two red bars are followed by a green bar above the zero line, indicating a potential trend reversal from bearish to bullish.
- Bearish Saucer: This occurs when two green bars are followed by a red bar below the zero line, indicating a potential reversal from bullish to bearish.
3. Twin Peaks Reversal Pattern
- Bullish Twin Peaks: This pattern occurs when two peaks are formed below the zero line, with the second peak higher than the first. This indicates potential for a bullish reversal.
- Bearish Twin Peaks: This pattern occurs when two peaks are formed above the zero line, with the second peak lower than the first. This suggests a potential bearish reversal.
For more examples and deeper analysis, visit BabyPips.

Step-by-Step Guide to Using the AO in Trading
Setting Up the AO
- Choose a Trading Platform: Popular platforms like TradingView, MetaTrader 4/5, and Thinkorswim offer the AO indicator.
- Add the Awesome Oscillator: Locate the AO in the platform’s indicators menu.
- Customize the Display: Customize the histogram with green for bullish momentum and red for bearish momentum.
Executing Trades with the AO
- Identify Signals: Look for clear signals like Zero Line Crossovers or Twin Peaks patterns.
- Confirm the Trend: Ensure the AO’s signal aligns with broader market trends. For example, a bullish signal on the AO should coincide with an overall uptrend.
- Enter the Trade: Open a long position when bullish signals appear and a short position when bearish signals appear.
- Manage Risk: Set stop-loss orders to limit potential losses and use profit targets to lock in gains.

How to Make Profits Using the Awesome Oscillator
Maximizing Profits with AO Strategies
- Risk-to-Reward Ratios: Target a risk-to-reward ratio of at least 1:2. For every $1 you risk, aim to make $2 in potential profit.
- Trailing Stops: Lock in profits as the trade moves in your favor using trailing stops.
- Market Conditions: The AO is most effective in trending markets. Avoid using it during periods of low volatility or sideways movement.
For more strategies, visit Admiral Markets.
Advanced Tips for Maximizing the AO’s Effectiveness
Combining the AO with Other Tools
- RSI: Filter trades to avoid entering overbought or oversold conditions, which can lead to false signals.
- Bollinger Bands: Use Bollinger Bands to assess volatility and confirm AO signals.
- Price Action: Analyze candlestick patterns and support/resistance levels to add context to AO signals.
Using AO Across Different Timeframes
- Scalping: On shorter timeframes, such as the 1-minute or 5-minute charts, the AO can help capture small but quick price movements.
- Swing Trading: For longer-term trades, such as on 4-hour or daily charts, the AO helps identify larger trends and provides opportunities for more substantial profits.
Backtesting Your AO Strategy
Before using the AO in live trading, backtest your strategy on historical data. Platforms like TradingView offer powerful backtesting tools that allow you to test your strategy over past market conditions to see how it would have performed.

Real-Life Example: Trading with the Awesome Oscillator
Scenario: EUR/USD 1-Hour Chart
- Signal: The AO crosses above the zero line, signaling bullish momentum.
- Action: Enter a buy trade.
- Trade Management:
- Set a stop-loss below the recent low.
- Set a profit target near the next resistance level.
- Exit: Close the trade when the AO histogram begins to decline, indicating that the momentum is weakening.

Conclusion: Is the Awesome Oscillator Right for You?
The Awesome Oscillator is an effective tool for analyzing market momentum and identifying potential reversals or trend continuations. While it can provide clear buy and sell signals, it is best used in conjunction with other indicators to avoid false signals and provide more context. By combining the AO with tools like the RSI, MACD, and Bollinger Bands, traders can enhance its effectiveness and make more informed decisions.
To get started, test the AO on a demo account and explore different strategies to see how it works in various market conditions. For more resources, visit BabyPips or Investopedia.
Terms and Conditions
Educational Purpose
The content provided in this article is intended for informational and educational purposes only. It does not constitute financial, investment, or trading advice.
Learn how to use the Average True Range (ATR) indicator for better market volatility analysis, stop-loss management, and trade strategies.